If you click on the links in this post, we may earn money from the companies mentioned in this post, at no extra cost to you. You can read the full disclaimer here.
Let’s face it – staying focused as a small business owner can be tough.
There are so many things that could potentially discourage you – not to mention just plain distract you!
But how do you keep from throwing in the towel, or from getting stuck just spinning your wheels? How do you keep making real, consistent progress so that you can achieve your business goals?
One way to stay focused on what’s important is by making a vision board.
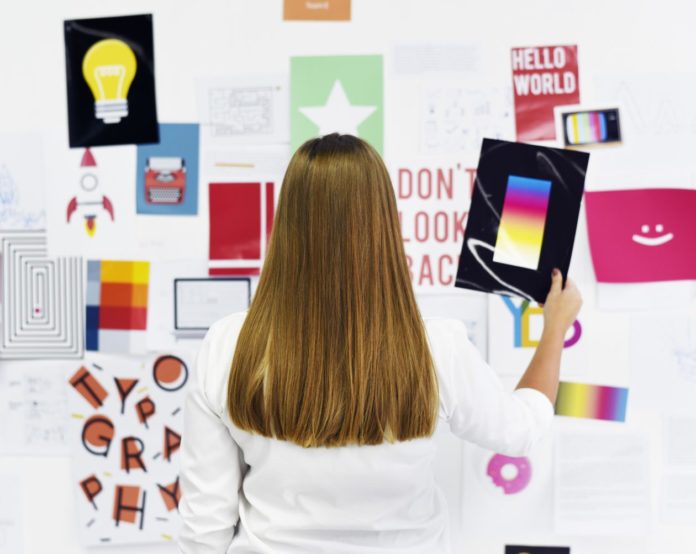
A vision board (or dream board) is basically a collage of images and words that represent your goals.
You can use images that directly represent something you want, or you can use images that remind you of certain feelings.
For example, let’s say you have a beauty blog and you want to make a certain amount of money by the end of the month.
You could incorporate that goal into your vision board by including pictures of a specific beauty product you’ll be promoting that month on your blog.
You could use images of a luxury product you’d like to buy once you reach that goal.
Or you could use photos from a beach trip you took last year to remind yourself of how great it felt to be able to treat yourself to it and how you can’t wait to be able to do that again.
Any (or all) of these ways could help motivate you to keep working – and working hard – toward that goal.
The great thing is that this isn’t for a grade at school. It’s not even for a client or anything. This is all for YOU, and what motivates YOU – and you can make it exactly how YOU want it!
That’s why I really encourage you not to get too caught up in following exact steps or trying to make your vision board look just like everyone else’s.
Instead, go with the things that are going to motivate you – and don’t stress because you can change it, or start all over, as much as you want!
Still, if you’re like me, sometimes it helps to have some steps to get you started!
So let’s take a look at how to make your vision board.
What do I need to make a vision board?
We’ll start with what you’ll need to make a physical vision board. Since this is all about you, what motivates you and sparks your creativity, you might end up opting for, say, making a digital collage in a design tool like PaintShop Pro. If you’re not sure what suits you best, though, then I suggest first making one you can actually see both on- and offline.
Anyway, here are the supplies you need:
1. A board (obviously)
You can use anything you want – cardboard, poster board, one of those trifold boards that kids sometimes use at science fairs, etc. I’ve always enjoyed using cork bulletin boards like this one:
 You could also consider a split corkboard/whiteboard like this one:
 An advantage here would be that you could use the whiteboard as an extension of the whiteboard (by using magnets for your images or even directly writing words, goals or inspirational quotes) – or this could serve as a joint vision board/to do list, which might make your to do list a little less daunting, boring, etc.
If you like the idea of being able to use both push pins and magnets, you might enjoy this dual purpose board:
 2. Your “tools”
This would be tape, glue, push pins, magnets or whatever you want to use to stick your content to your board, as well as scissors.
3. Your content!
This is the fun part.
You can get your images for your vision board by cutting things out of old magazines or brochures.
You can use photos that you’ve printed off your computer onto regular printer paper, or printed with a portable photo printer.
Another great way to find content for your vision board is to include mementos from times in your life when you displayed qualities you’d like to possess more frequently (like maybe a program from an event where you did a great job giving a speech and were super confident). You might also want to include items that remind you of times when you achieved a goal similar to what you want to achieve now.
And if you’d like, you can decorate it with stickers, ribbons, paint or even some of the pictures and cards included in a Vision Board Kit (keep in mind that this kit does not include the actual board itself).
How do I arrange my vision board images?
How you want to arrange your content visually is up to you. Experiment a little with it first, before you use any glue or pins – do you prefer to have lots of images overlapping? Do you like to spread out your images with some white space (or whatever color!) in between?
Also, take a little time to decide how you’d like to group your images – both visually and thematically.
Maybe you’d like to group similar colors together, or spread them out throughout the board. You want something that is visually appealing to you so that you’ll keep looking at it!
And as for the themes? Decide how many “topics” or “categories” you want to include.
Your board might include inspiration for such things as:
- One particular project at work
- Your goals for your entire business
- A future career you’d like to have
- One or some of your own personal development goals
- Your personal life
If you’re not sure how many of those items you want to address, then it’s usually good idea to keep things simple. Start with one major goal/dream/vision and start gathering images for it. You can always add on or make a whole new board later.
When should I make my vision board?
You might want to make a new vision board – or change up your current board – at the start of each month, quarter or year.
Another great time to make a vision board is at the start of a new project or goal.
As for time of day, make sure you pick a time when you’re awake and alert (for example, don’t do it early in the morning if you’re not a morning person). Block out an hour or two so that you can relax and take your time.
A lot of people enjoy throwing (or attending) a vision board party – basically, a way to encourage your friends and/or coworkers, have fun, and give yourself the extra push you might need to create it in the first place!
Pin this for later – save it to Pinterest!


